Device development based on the MQTT protocol
Modify the configuration file#
Path of the engineering configuration file:code/dtu_config.json。
Based on the data transmission of TCP private server, the following configuration is made:
By default, the configuration item
system_config.cloudis defined as"tcp"which means TCP transparent mode. The system will automatically read the configuration itemsocket_private_cloud_config.This experiment adopts MQTT transparent transmission mode,Set the MQTT server domain name (server), port (port), client id (client_id), and subscription and publication topics in the mqtt_private_cloud_config configuration item as follows:
The
uart_configconfiguration item is the serial port configuration parameter. By default, it is configured according to the current experimental development board and cannot be changed. If other development boards are used, configure them based on the actual hardware.
The complete profile template is as follows:
参数说明:
system_config.config: Specifies the type of private cloud currently in use. tcp and mqtt are currently supported.mqtt_private_cloud_config:MQTT private cloud configuration.socket_private_cloud_config:tcp private cloud configuration.uart_config:Set serial port parameters.
script is imported and run#
Download and install the QPYCom tool and use it to download scripts to the QuecPython module.
💡 Tips
Service debugging#
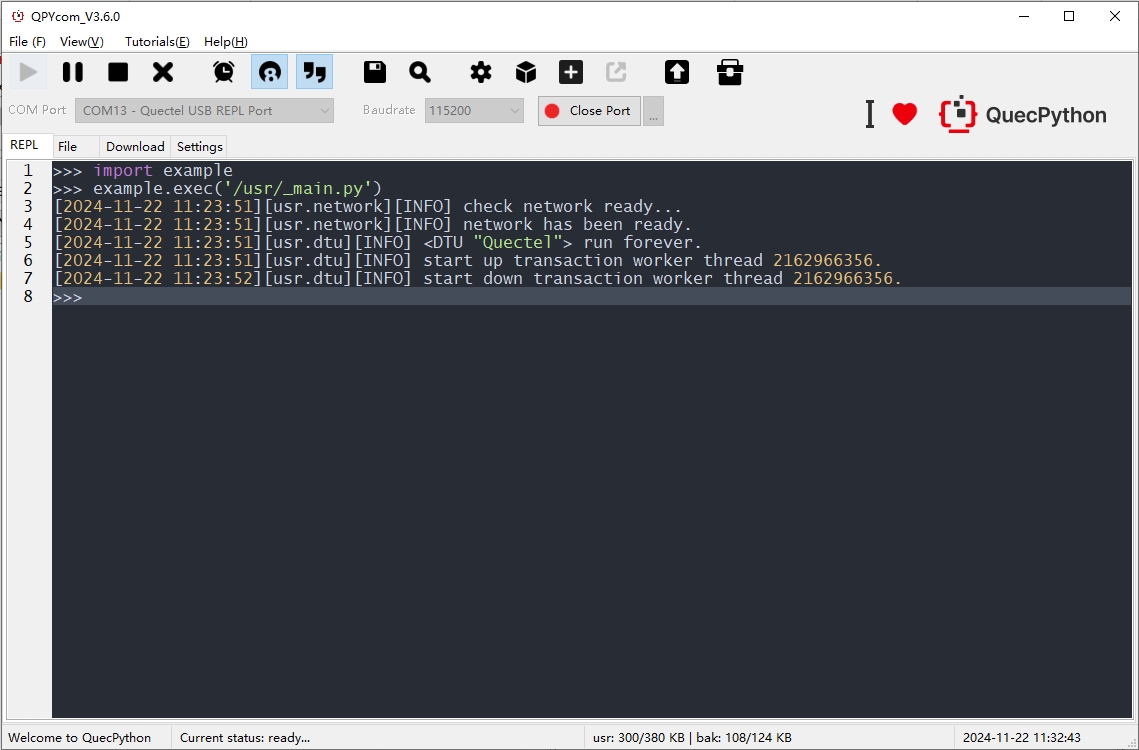
View REPL interface logs
After the program is run, you can see the log output in the REPL interaction page as shown in the following figure. There are two threads in the DTU service to process data, one is used to detect and read serial port data and forward the data to the cloud, and the other is to detect the cloud downlink data to the serial port, as shown in the following figure.
Uplink transparent transmission
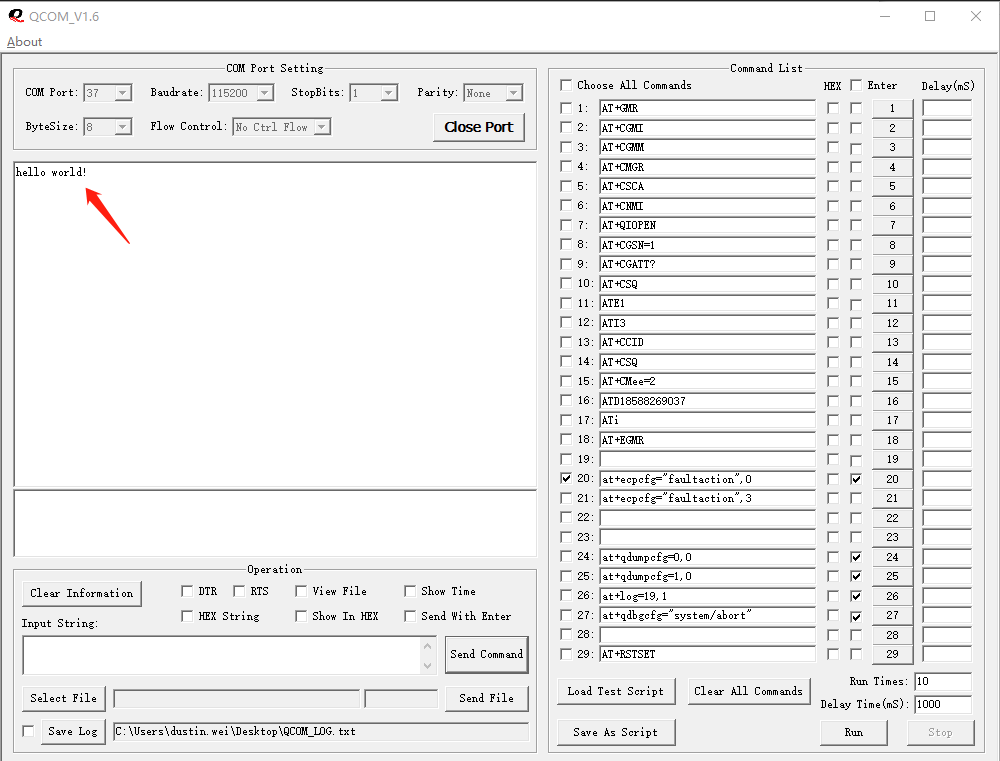
The serial debugging tool is used to simulate the mcu to send uplink data to the module.
- In the
Input Stringinput field, typehello world!Character string. - Click
Send Commandbutton to send data through the serial port.
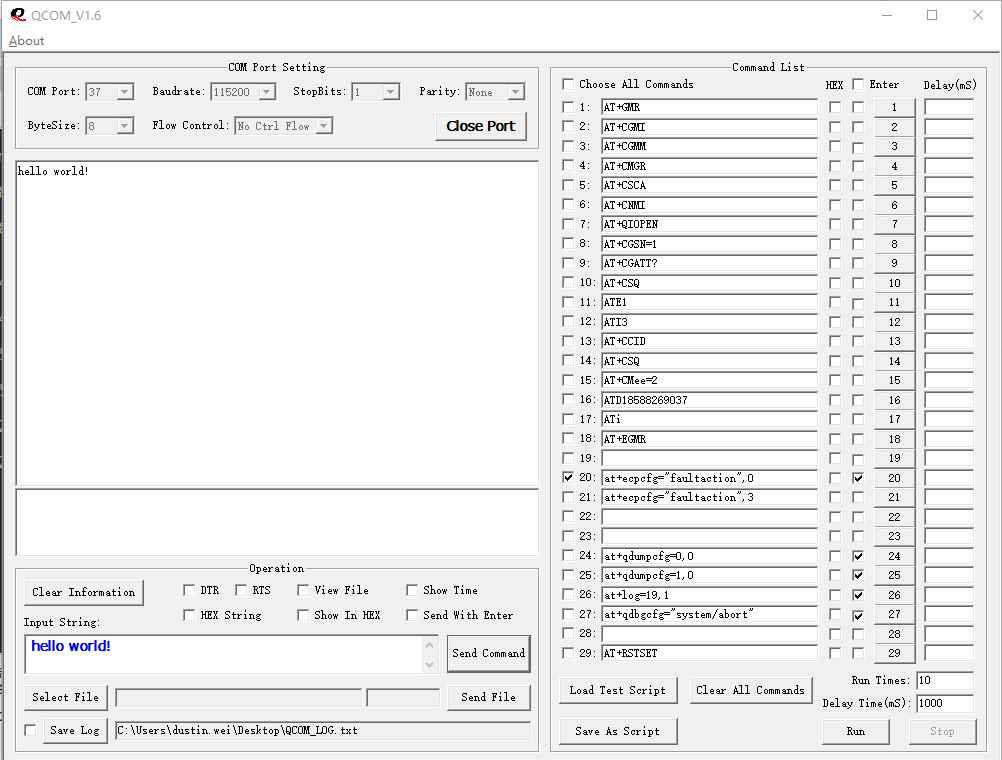
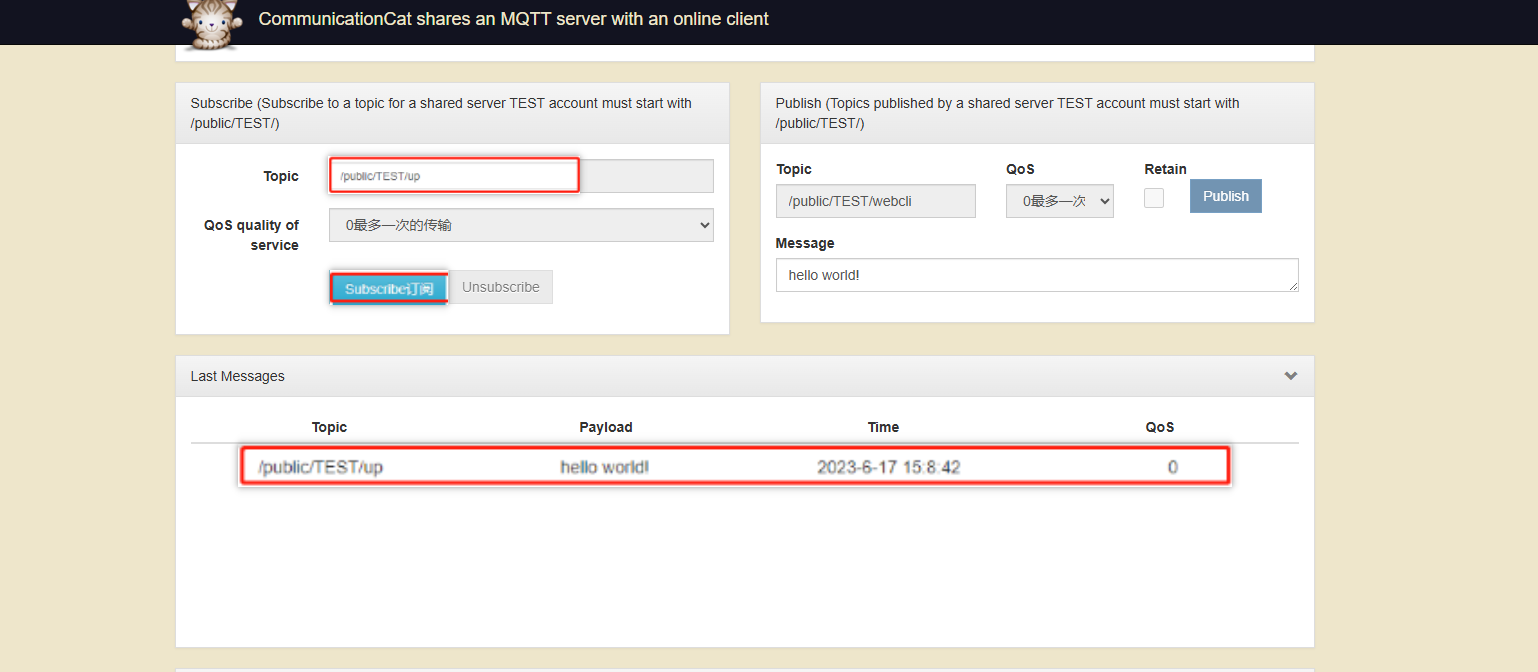
DTU receives serial data and transparently transmits it directly to the mqtt cloud.
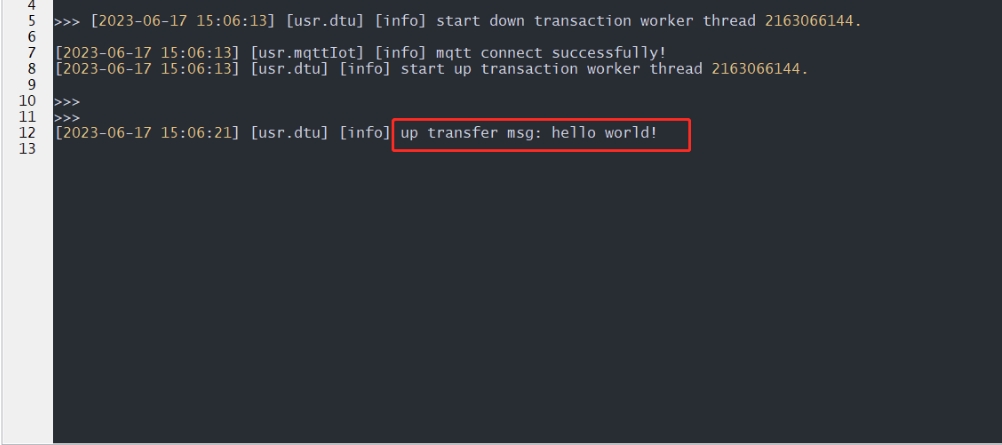
The cloud receives uplink data logs
ps:The communication cat cloud platform is only used for testing, and the cloud platform can be replaced according to actual requirements
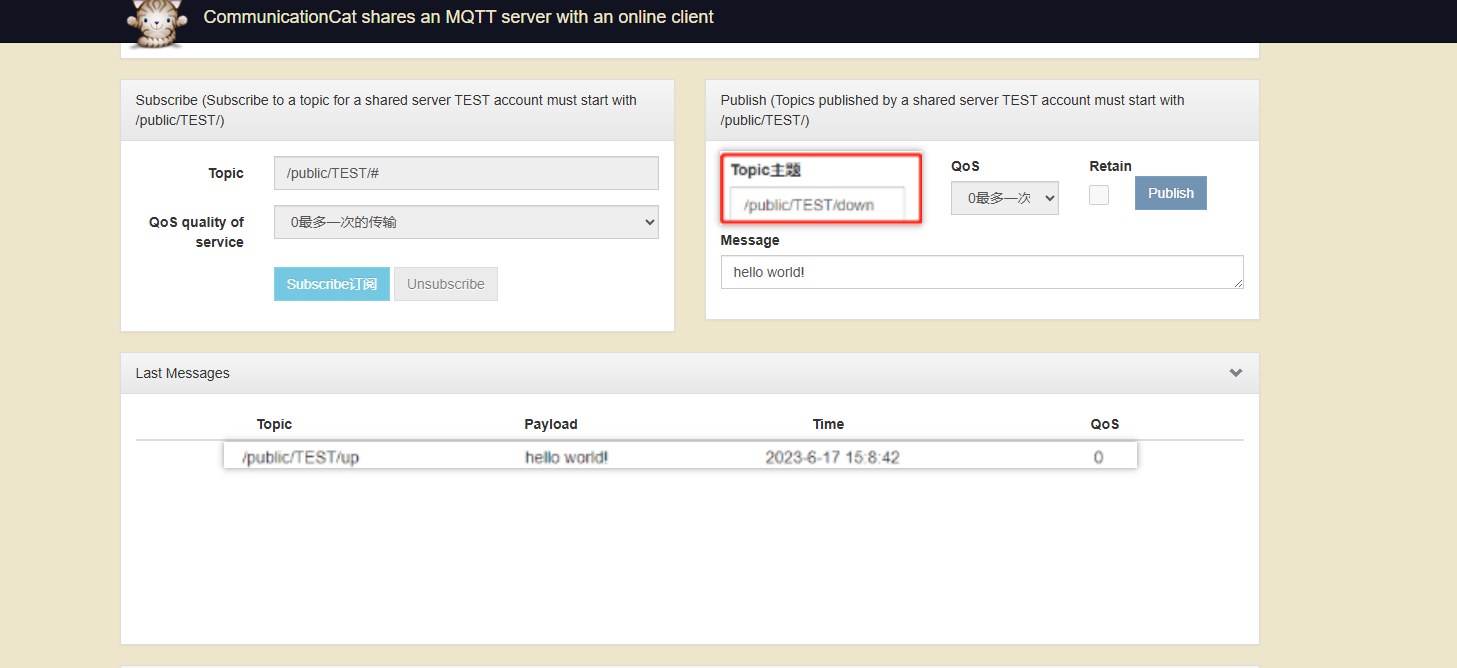
Downlink transparent data transmission
The cloud sends downlink data.
- Set the cloud downlink data theme (the same as the subscription theme configured for the DTU application).
- Enter downlink data.
- publish
Using QCOM to observe serial debugging tool to simulate mcu receiving module downlink data.