
LVGL-UI Tool
Overview
GUI Guider is a PC-based GUI design tool provided by NXP, which allows you to design LVGL GUI by dragging and dropping controls to accelerate GUI design. After designing, you can simulate and run the design on your PC, and then generate Python scripts to integrate into the module. This guide will show you how to use GUI Guider to assist in Quecpython LVGL development.
Click here to download GUI Guider.
Main features of GUI Guider:
- Support Windows 10 and Ubuntu 20.04.
- Support Chinese and English.
- Compatible with LVGL V8.3.5.
- Support WYSIWYG (What You See Is What You Get) user interface design with drag and drop.
- Support multiple fonts and importing third-party fonts.
- Automatically generate Python source code.
- Support default styles and custom styles.
- Integrate demo applications.
- Display logs in real time.
- Integrate host simulator.
Instructions
Once you have installed GUI Guider correctly, you can start designing your GUI. After completing the design and simulation, you can generate Python code with just one click. After making a few modifications, you can download and run the code on the module. Here are the specific steps:
Create a Project
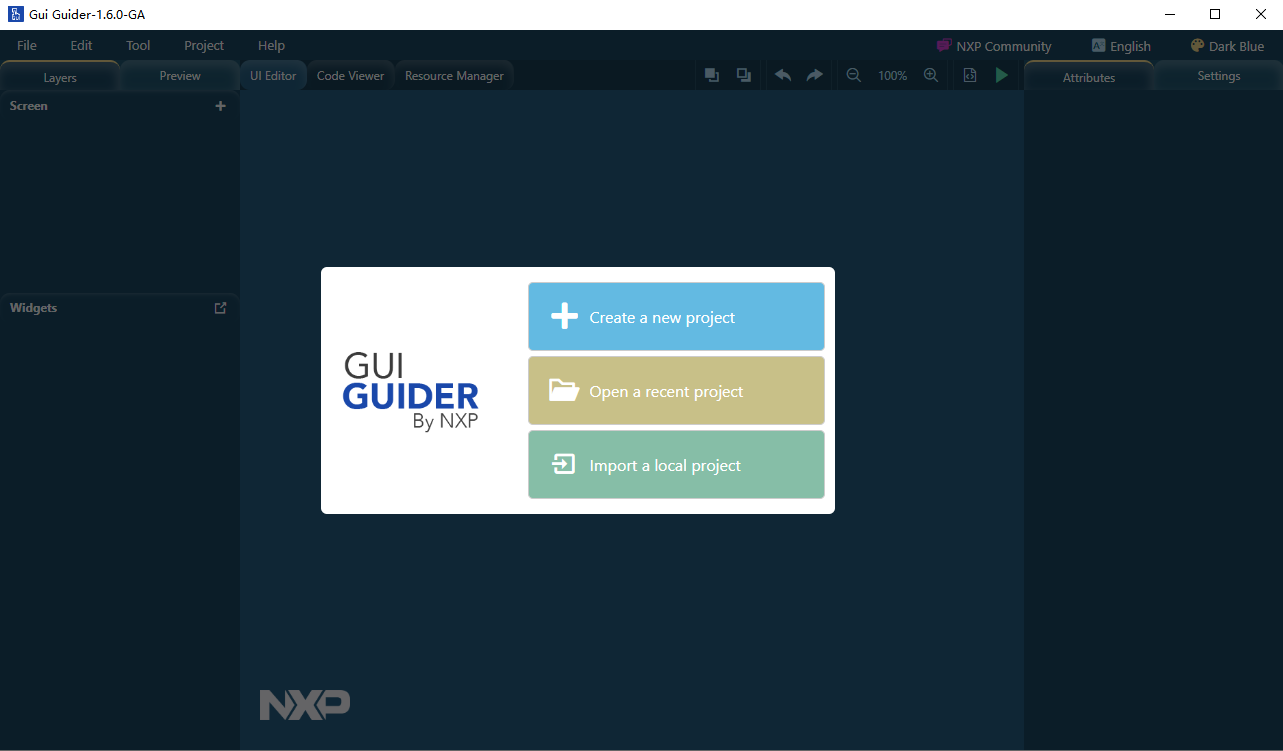
Open GUI Guider and select "Create a new project" on the interface below.
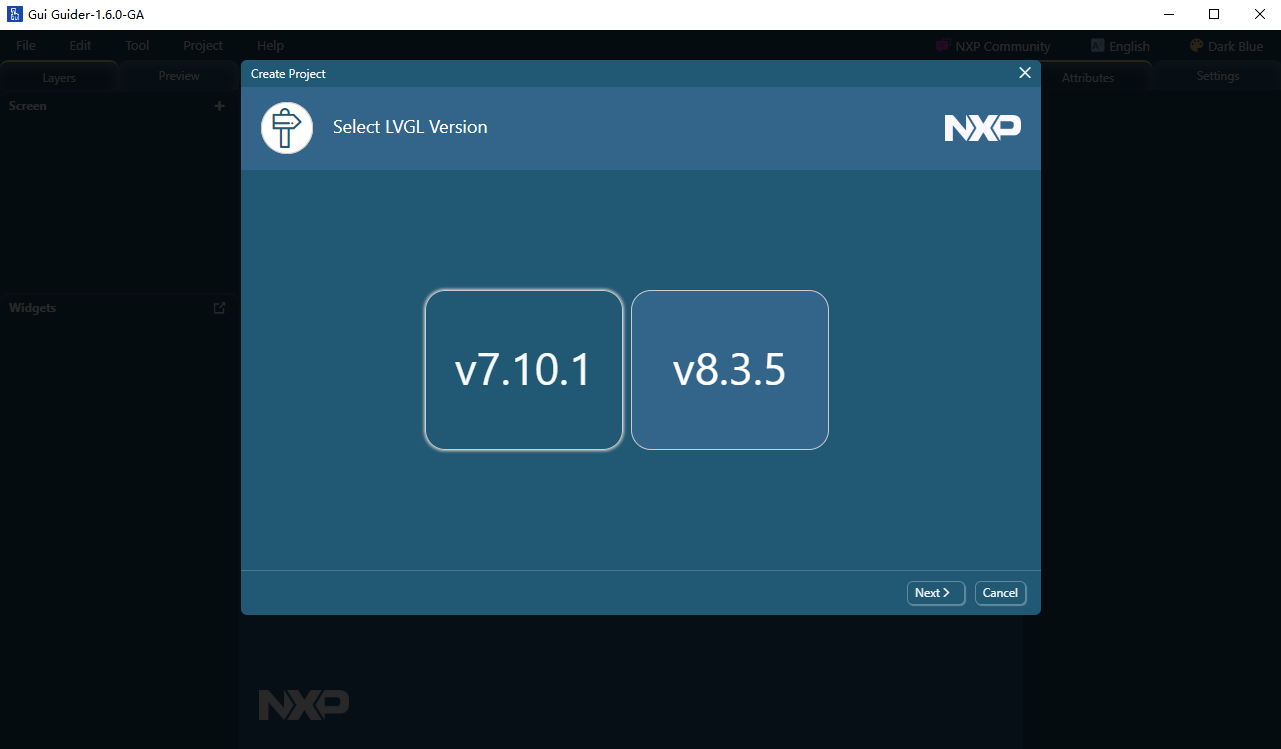
Select "V8.3.5" and click "Next >".
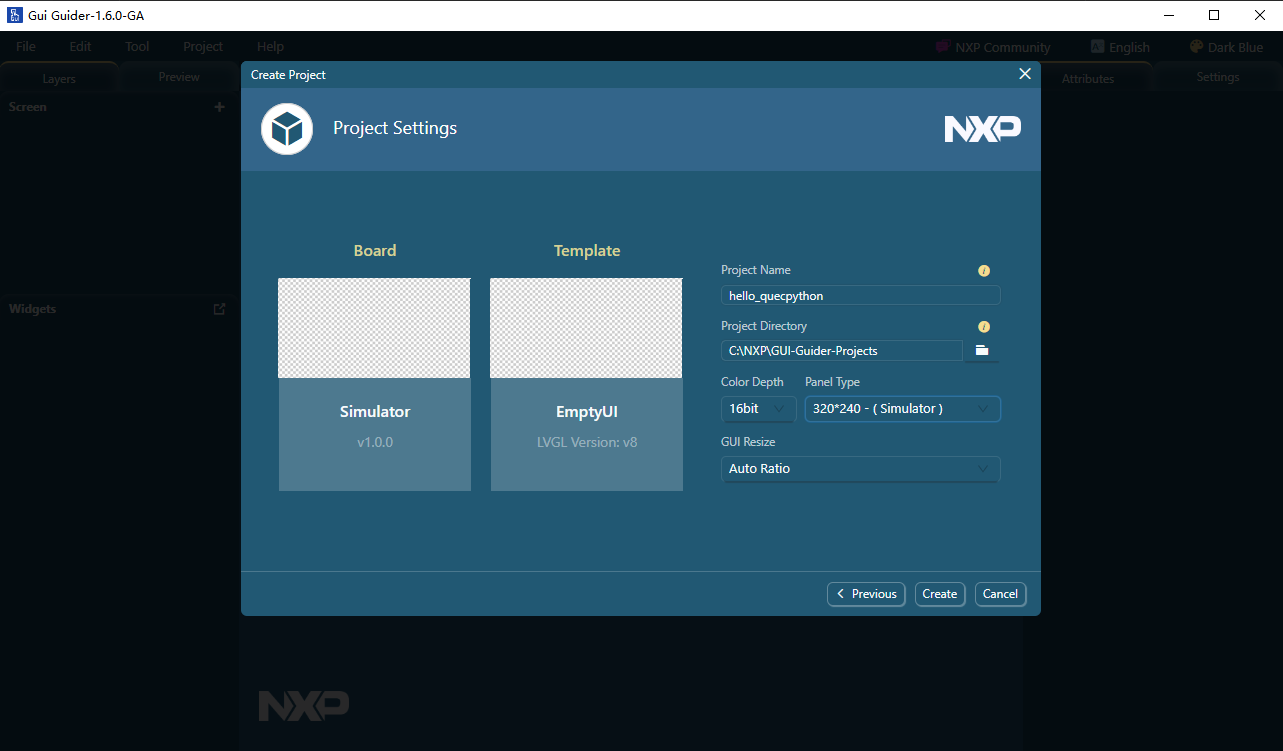
Select "Simulator".

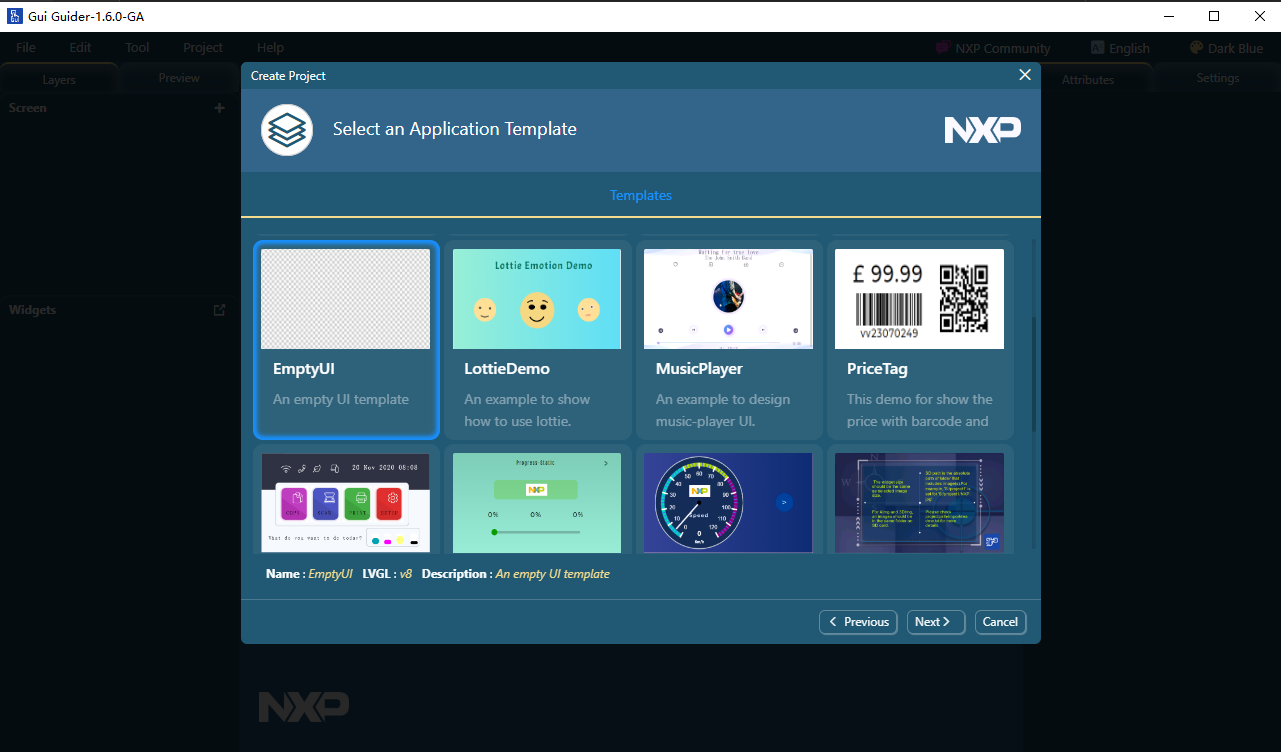
Select a template. You can choose according to your needs, such as player, label and dashboard. After selecting, click "Next >".
On the right side of the window, enter the "Project Name" and select the "Project Directory". Choose "16bit" for color depth and select the resolution based on the actual resolution of your LCD. After completing the information, click "Create" to create the project.
Design GUI
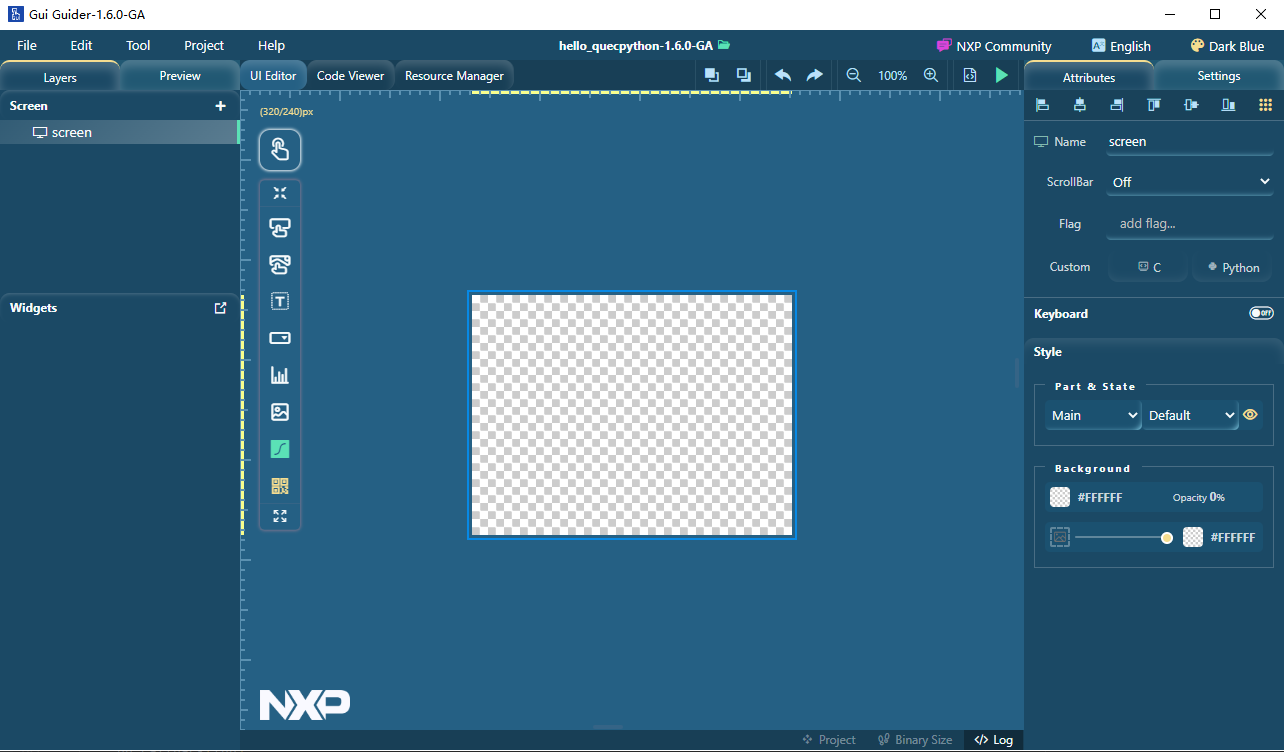
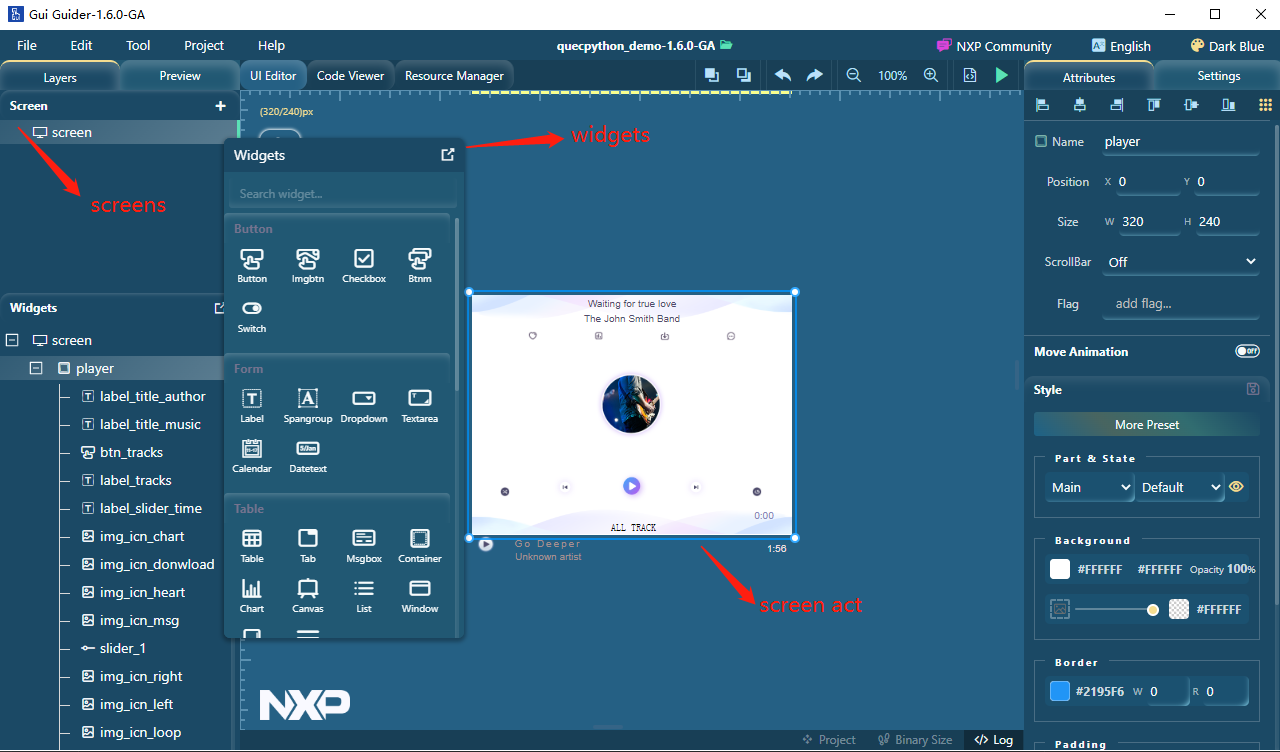
After creating the project, you will enter the UI design page. Here are the introductions to several main areas:
- On the left side of the tool interface, under "Layers", the "Screen" section lists the UIs you have created. You can click "+" to create a new interface.
- On the left side of the tool interface, under "Layers", the "Widgets" section lists the widgets of the currently edited UI.
- In the middle of the tool interface, the left side of the "UI editor" is the widget library that can be dragged and dropped. Click the "Expand" icon below to expand all the widgets.
- In the middle of the tool interface, the main part of the "UI editor" is the currently edited UI.
- On the right side of the tool interface, "Attributes" can be used to set the attributes of the UI or widgets.
Please follow these steps to complete the UI design:
- Create all the interfaces you need, and name them in a standardized way for easier code generation and maintenance.
- Design each interface by dragging and dropping the widgets you need onto the interface, adjusting their positions and sizes, and setting their attributes.
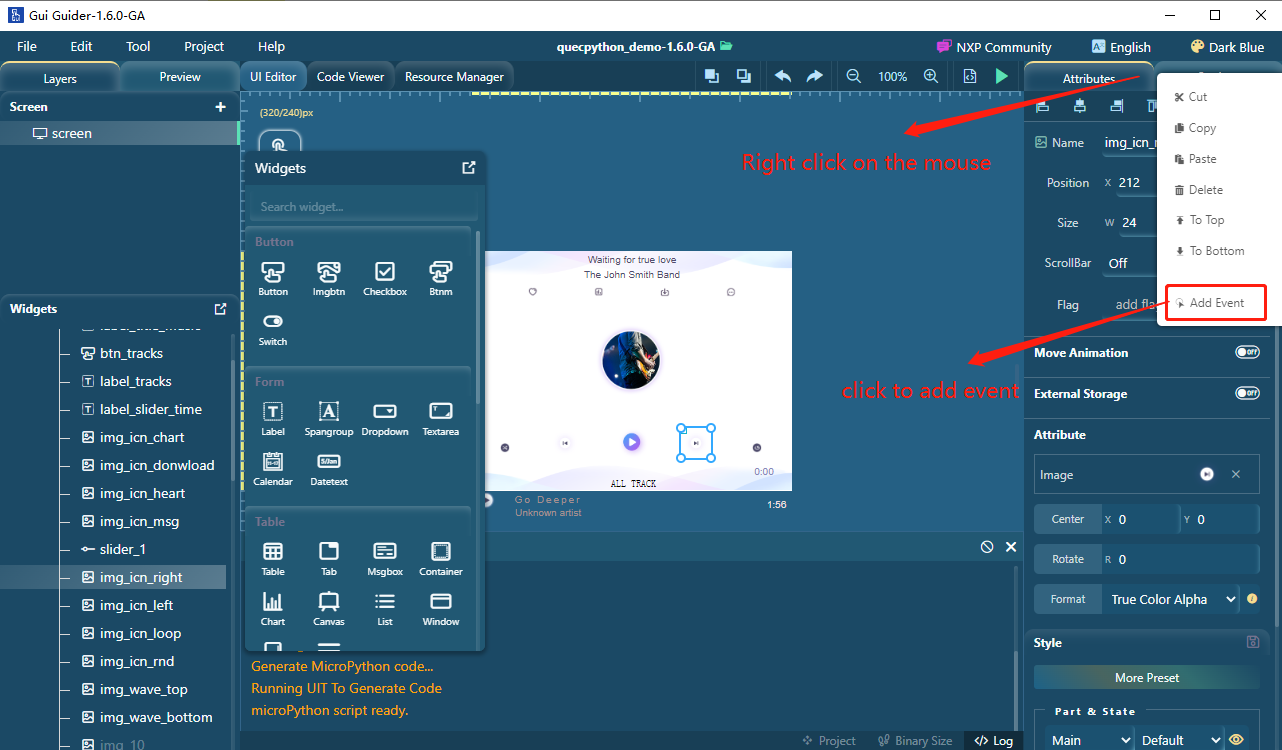
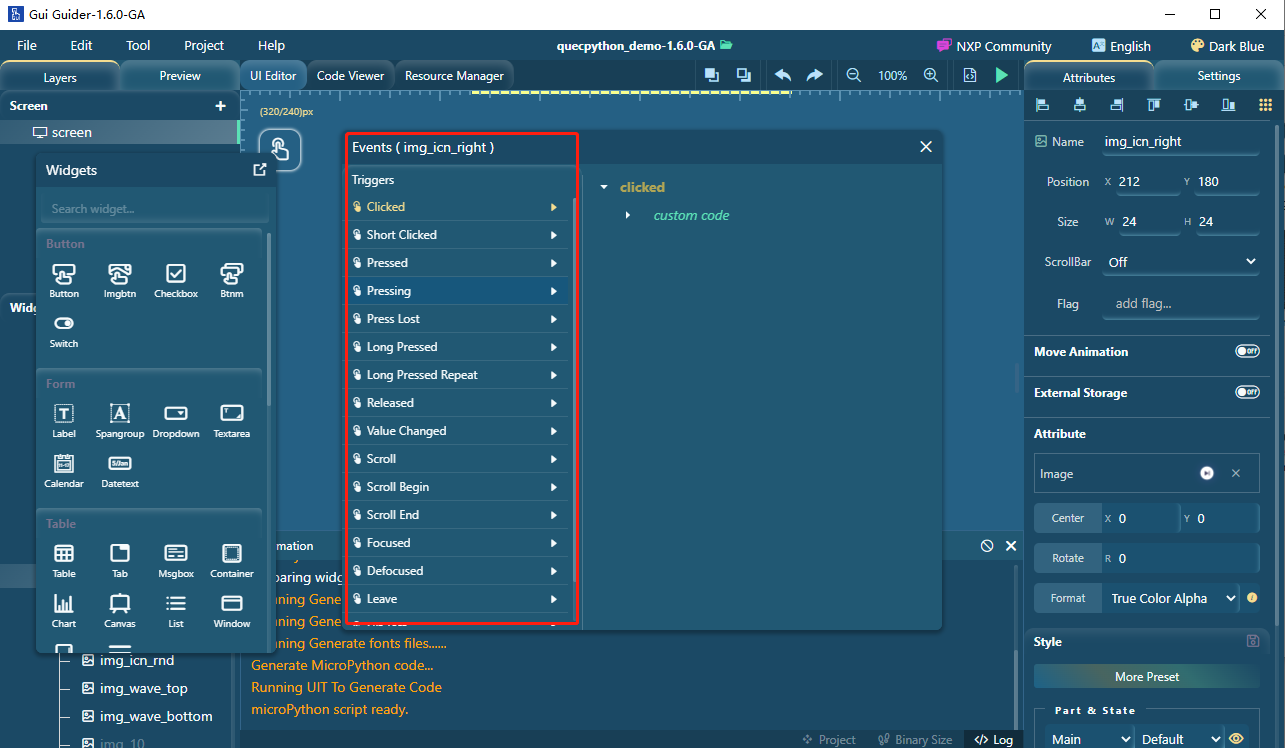
If you need to add events to widgets, such as switching interfaces when clicked, select the widget to add events to, right-click anywhere, and click "Add Event" to open the event window, as shown below.
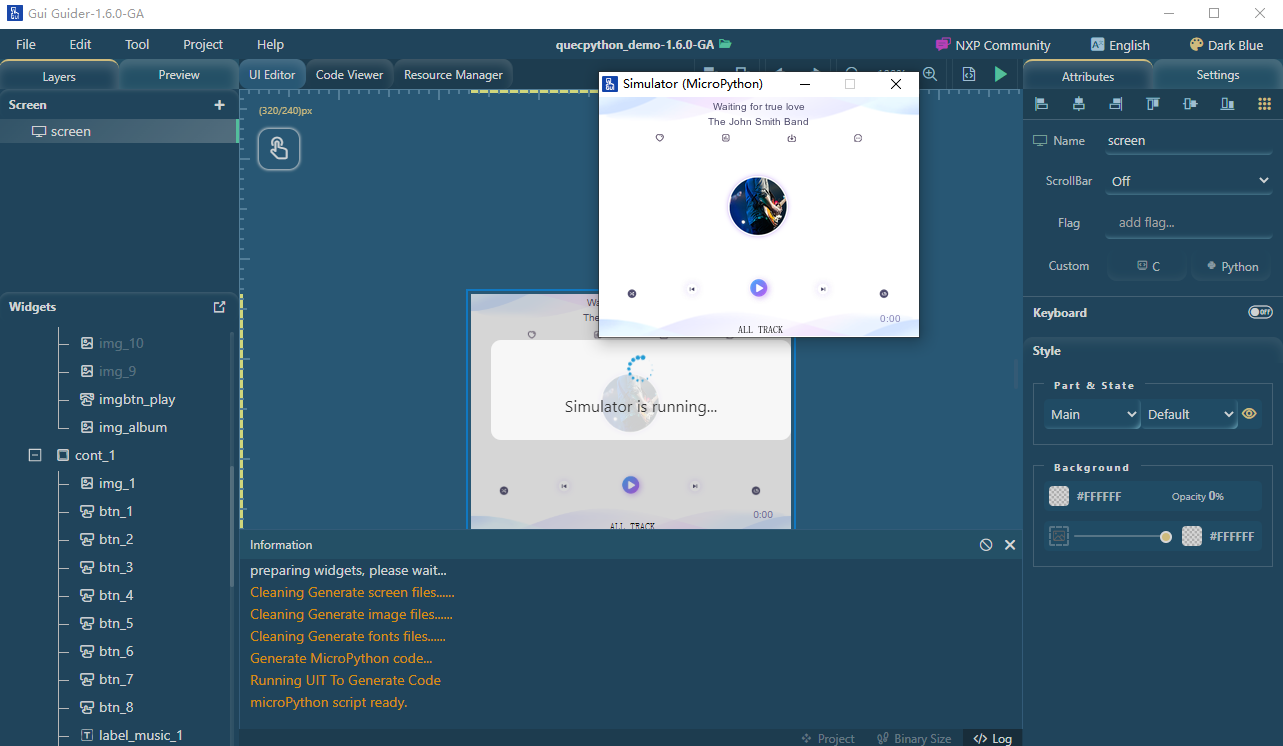
After completing the UI design, click the triangle icon in the upper right corner and select "Micropython" in the drop-down list of "Simulator" to start the simulation. Check the effects and verify the events on the simulator.

Generate Code
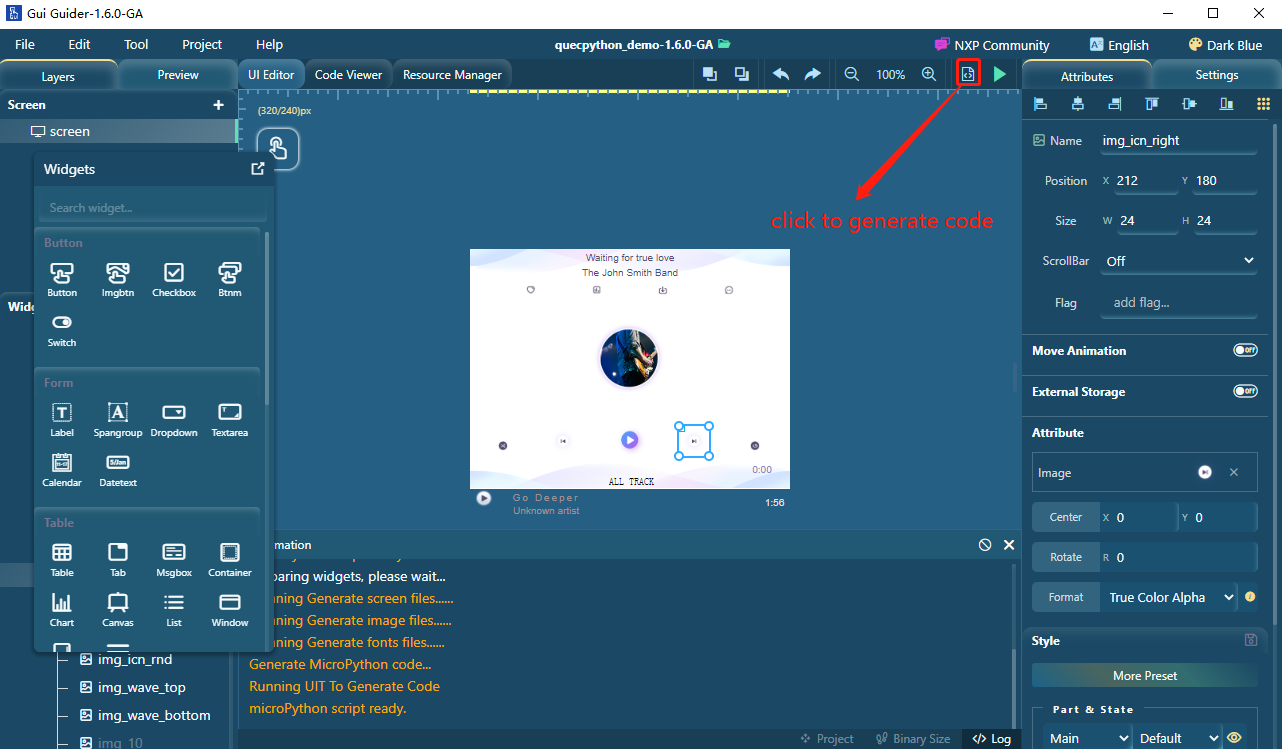
After completing the GUI design and simulation, click the button in the upper right corner to generate the code.
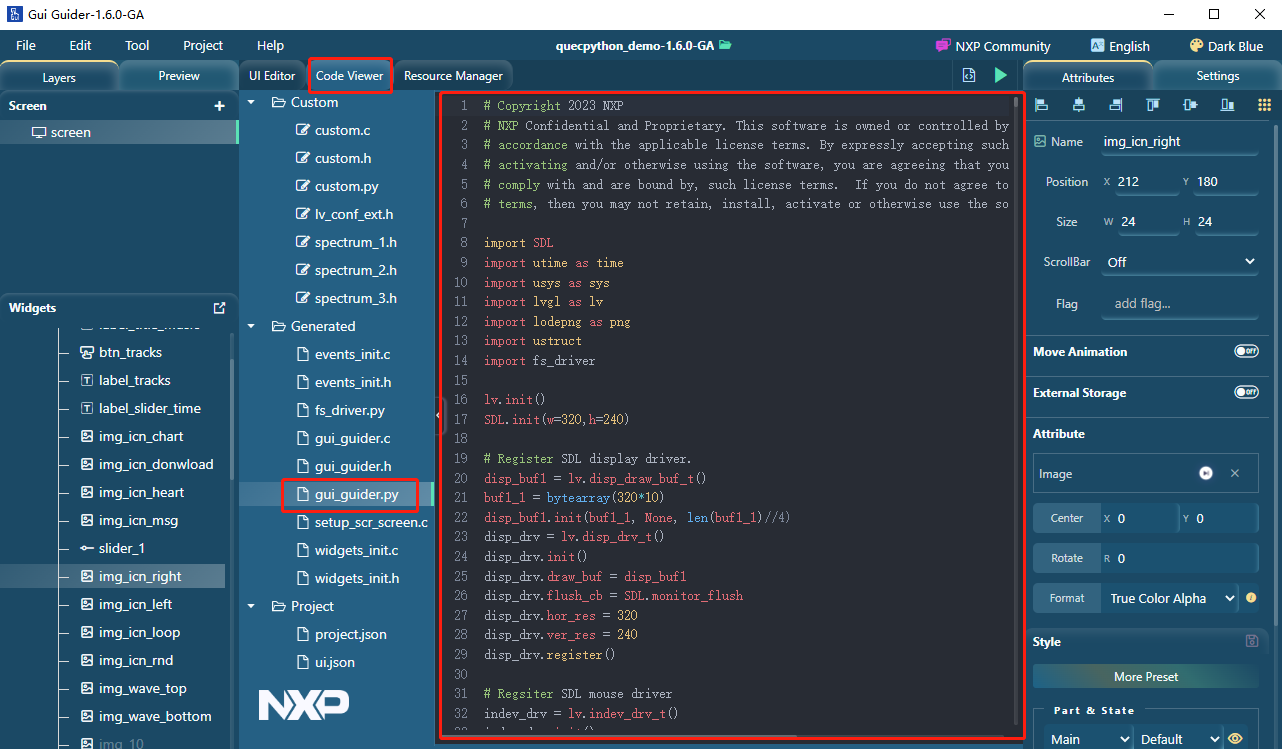
Click "Code Viewer" in the middle view to preview the generated code. The generated Python code is named "gui_guider.py" as shown below. The code is located in the "generated" directory under the project.
Adapt to Quecpython
The script generated by GUI Guider has some slight differences from the actual application script. After making some modifications, it can be directly run on the module. The main steps are as follows:
- Add initialization code for the LCD.
- Modify the generated code from GUI Guider.
- Download the script to the module for running.
Add LCD Initialization
Add the LCD initialization code at the beginning of the generated Python file from GUI Guider. Please refer to LCD - LCD Driver for details.
Modify Generated Code
Some modifications need to be made to the generated Python file from GUI Guider to adapt it to Quecpython LVGL.
Modify LVGL Initialization
Modify the LVGL initialization code in the generated file according to the "LVGL Initialization" section in the LVGL - Workflow document.
Modify the Use of Images
In the generated file, call the custom decoding API to decode images, while Quecpython LVGL is equipped with an image decoder. Therefore, you can directly use the image path when calling the image in Quecpython LVGL.
Modify all the parameters of the set_src APIs in the generated .py file to the path of the image, as shown below.
img_obj.set_src("U:/demo.png")
Note:
In the generated code from GUI Guider, each widget has a corresponding style, which makes the code very bloated. Therefore, if you need to do advanced development, you need to further optimize it, such as reducing unnecessary style definitions or removing unnecessary try statements.